

By now, developers are well aware that WebRTC is one of the most optimal protocols to capture and stream audio and video over the internet. It is also used for exchanging arbitrary data between browsers without an intermediary. Essentially, WebRTC enables browsers and apps to share data and perform teleconferencing peer-to-peer, without requiring the user to install plug-ins or any third-party software.
If you’re developing an app that includes audio-video communication, then this piece will discuss a quick, useful hack to help with the process. Using WebRTC as a WebView in your app.
WebView lets you get a browser-like interface right within your mobile application. The WebView allows users to display web content directly within an application. This is especially useful when developers need advanced configuration options and more control over the UI in order to embed web pages in a specially-designed app environment. It also saves time when shipping an app already made for the web to a mobile device.
This article will discuss how to enable WebRTC as a WebView on Android, iOS & Flutter.
# Enabling WebView WebRTC
By the end of the tutorial, you’ll know how to add WebRTC apps to different platforms. However, to test out WebRTC, we’ll first have to create relevant deployments so that we can obtain the necessary URLs.
Originally we would have used test.webrtc.org or apprtc-m.appspot.com to test our integration. However, these publicly available services have been turned down as of 2021–12–1. More information is available here.
In place of the above links, we will use 100ms to create the necessary apps in a few easy steps.
Let’s start by setting a 100ms project.
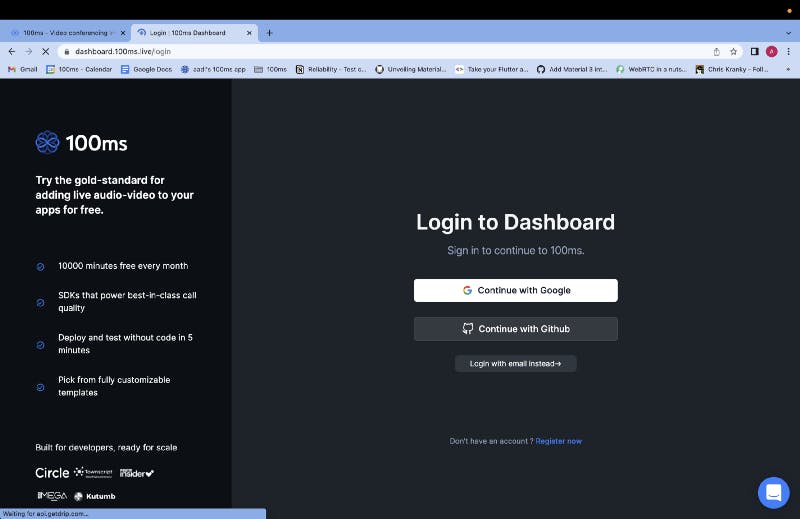
Go to dashboard.100ms.live and create an account.
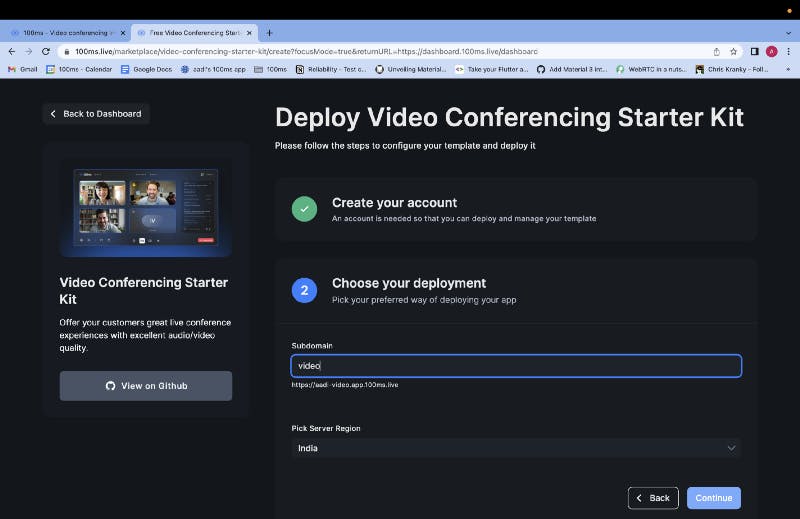
- Create a new app by selecting the Video Conferencing template.
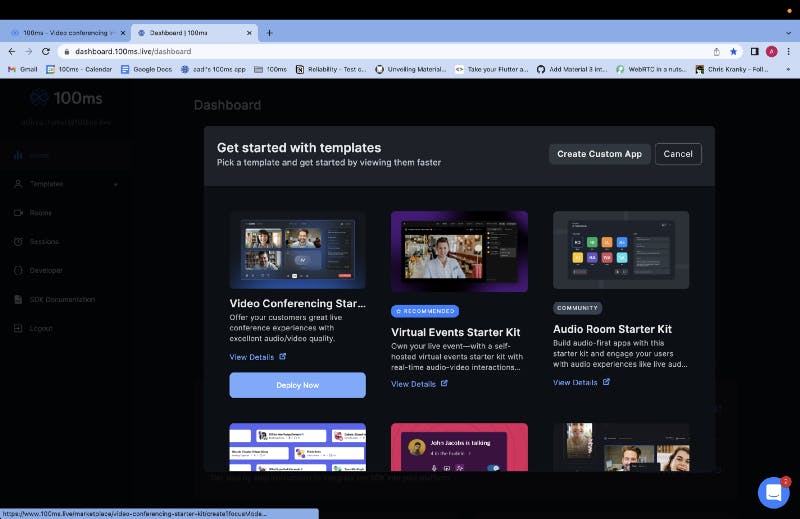
- Click on Deploy Now and configure deployment. Give your app a subdomain and click on Continue.
- Finish creating the app and click on the Invite button.
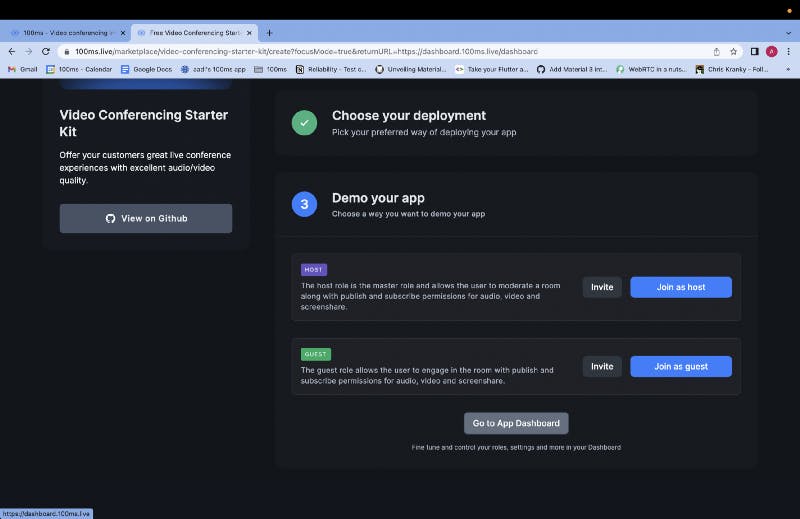
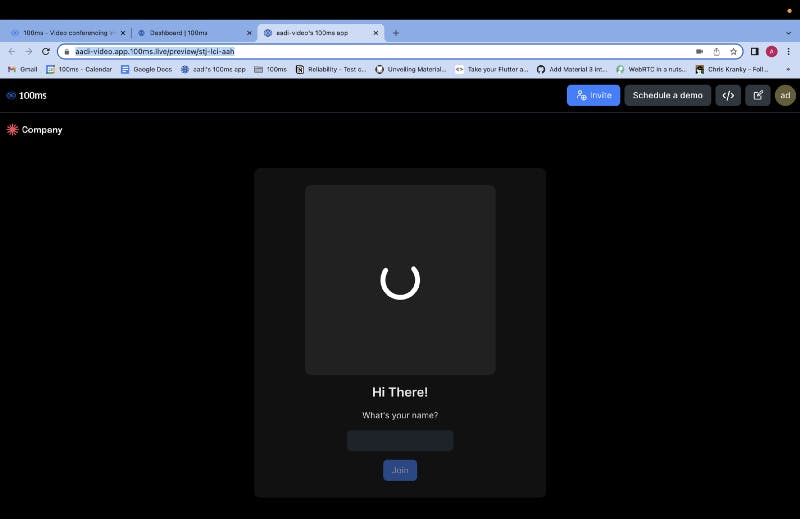
- Copy the URL and save it. We’ll need to use it as WebView in our Android, iOS, and Flutter projects.
Android WebView & WebRTC
We’ll start by creating a new Android project using Android Studio.
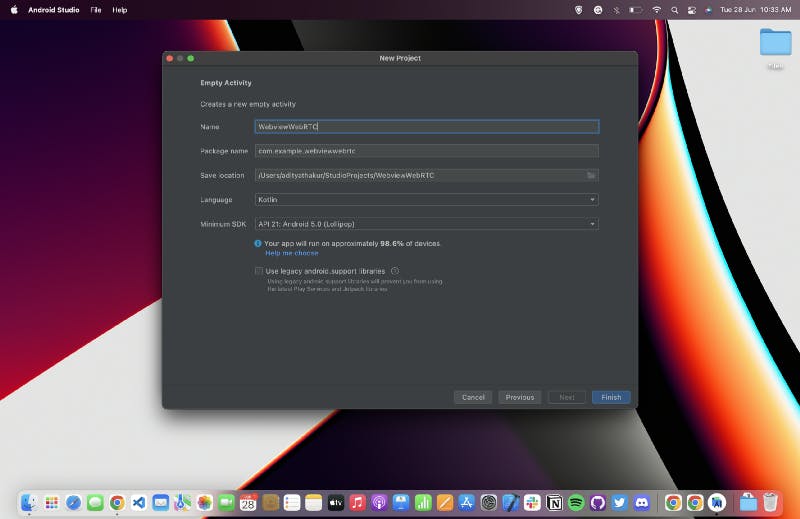
- Open Android Studio and click on New Project. Select Empty Activity and give the project a name.
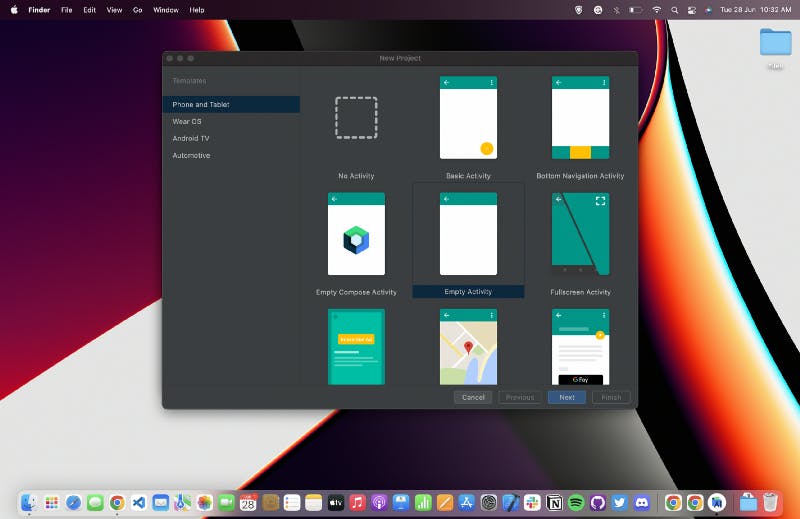
- We’ll call it WebviewWebRTC. Click on Finish to create the project.
- Inside the MainActivity.kt of the project, add import android.webkit.WebView to the imports. Next, modify the AppCompatActivity as follows:
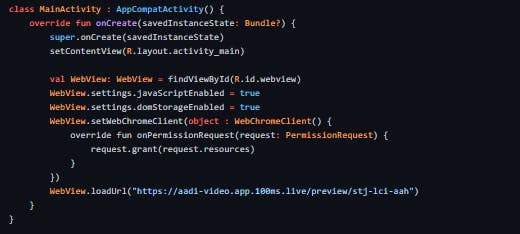
Here, use the URL created earlier inside loadUrl to launch it.
Next, add the following permissions to the AndroidManifest.xml:

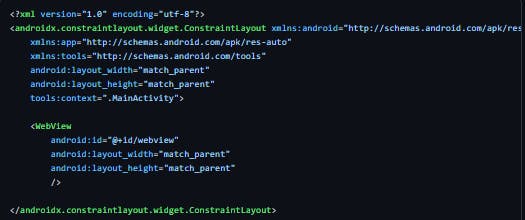
- Add the WebView tag in activity_main.xml as shown below:
The application is now ready for launch.
Click on Run app. Wait for the application to build and launch on the emulator or mobile device you are using.
It should look something as seen below:

iOS WebView & WebRTC
Now, we try setting up the WebView on iOS to test out WebRTC.
Start by creating a new iOS project. Under the iOS tab, select App and click on Next. We’ll name this project WebviewWebRTC.

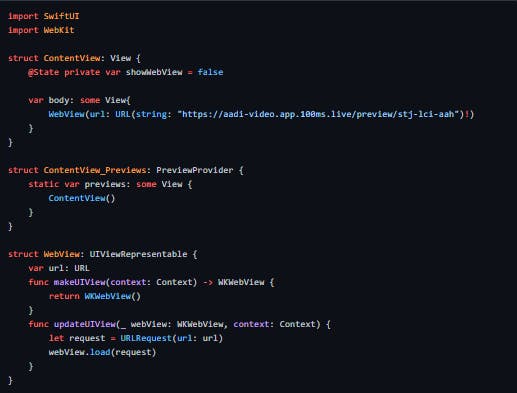
Inside the project, modify the ContentView file. Start by adding the import WebKit
Here, add code as follows:
To access the Camera and Microphone, modify permissions in info.plist
Now run the app. Here, we are running the application on an iPhone 12 iOS simulator.
It will ask for permission to access the Camera and Microphone. Allow said permissions.
The project should now run. It should operate as seen below:
## Flutter WebView & WebRTC
Lastly, we create a Flutter Project to set up WebRTC in WebView.
Run the
flutter create webviewcommand to create a new Flutter project. To enable WebView, add theFlutter InAppWebViewpackage by running the command below:To add Camera and Microphone permissions, run the following command:

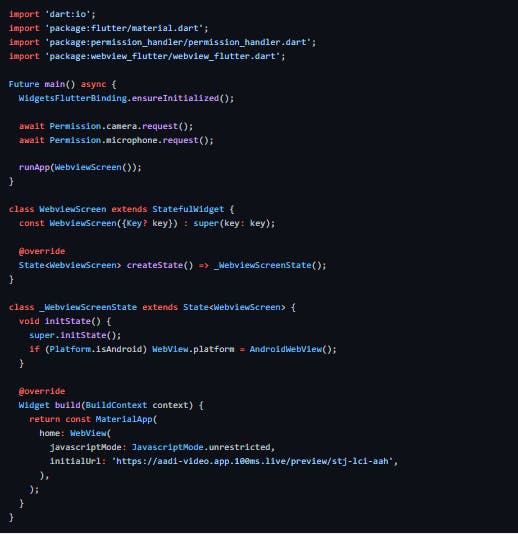
- Modify themain.dartcode inside thelibfolder as follows:
InsideAndroidManifest.xmladd the following permissions within thetag:
Note: To run the application using a Bluetooth device, we might need to set up Bluetooth permissions.
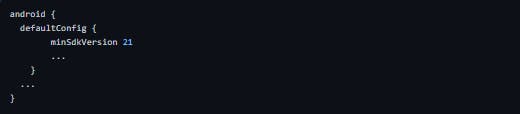
Set the compileSdkVersion to 30 in theandroid/app/build.gradlefile:

- Set the minSdkVersion to 21:
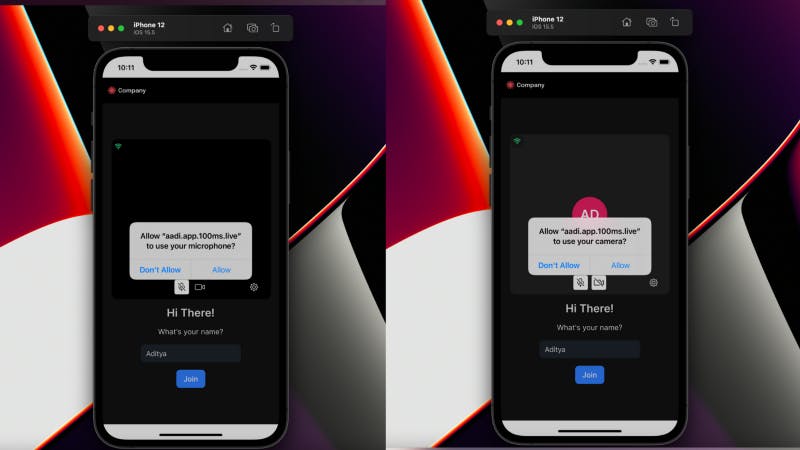
- Run the app. It will ask for permission to access the Camera and Microphone. Allow said permissions.

The app should now run, as seen below:

That’s it. We have just successfully set up WebView WebRTC in Android, iOS, and Flutter.
Conclusion
WebView in WebRTC is useful when trying to replicate a website experience within a mobile app. It can come in handy when you have your web app ready and want to view content as seen on a mobile browser inside your application. This makes apps quick and easy to ship and makes developers’ lives easier by a long shot.